What is retraction and what does it have to do with 3D printing?
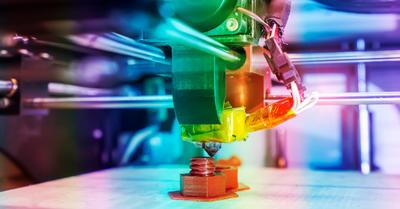
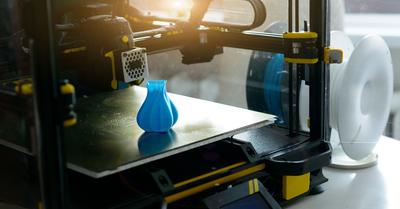
As you know, 3D printing involves melting a plastic filament using an extruder, and having a printhead and arm move the extruder in very specific, programmed ways in order to “print” the plastic onto a tray. The process is very precise and can be controlled into very small movements to get great detail out of a figurine or print.
While the 3D printer performs the process of heating up plastic pieces to a melting point, then streaming them to a nozzle, there is a good chance that you'll experience some messiness and problems. In the 3D printing world, we call these strings, goobers, blobs, and zits. They are the result of the filament continuing to come out of the nozzle when it shouldn't be – and that happens because the melted filament isn't pulled back up into the printhead and extruder while the printhead is moving.
Retraction, as the name implies, involves retracting the filament back into the printhead or extruder to keep it from making a mess.
How do I use retraction for 3D printing?
There are just a couple of settings for retraction. Distance and speed. Distance is most often set in millimeters, to reflect the precise and small nature of 3D printing. Speed is set in in the number off millimeters per second.
With an extruder that produces heat with the intent to melt plastic, the idea is move the filament back fast enough to not waste a lot of time, but also not create an excess of melted filament for your project. Finding the right balance is key, though it is often easy to find based on the materials you are using and the amount of moving you have to do.
While time may not be a big deal to come, you'll be adding some on if you choose to retract the filament slowly for a long distance – you also run the risk of the filament moving back to slowly, melting anyway, then causing extra dots you don't need.
If you set the retraction to go quickly across a long distance, you also risk breaking the filament in the process. This is all about balance.
There is one more setting in the retraction set of capabilities called Minimum Traveling Distance. The nozzle and head will need to move a certain distance before retraction can take place again. Part of the reason for this is that if you attempt to retract too much, too often, you'll find yourself potentially clogging the nozzle and extruder. For your info, 3D printers measure in rather short distances. As you might have gathered from previous references to distance, we are talking about millimeters. If you are printing off something with lots of detail, you might want to have a higher minimum distance to keep your printhead from stopping so frequently when it will be making many small, repeated movements.
How do I set my retractions?
The software that runs your 3D printer should have settings – possibly beyond the basics we offered, that are readily changeable. You should also consider looking up printers based on retraction settings if that is a concern of yours.
How do I fix blobs of filament?
You'll probably still get some blobs or strings even with retraction working. The blobs and string that can come of excess filament can often be fixed with a heat gun or even a hair dryer. The idea is to expose the strings to the heat of a hair dryer very briefly – often about 1 second, so that the extra plastic just melts and isn't attached to your print anymore.
The strings should melt nearly instantly. Just be careful here, and move the 3D print quickly with the heat. You don't want to soften or melt other parts. The idea here is that the strings are very skinny and shouldn't require much heat exposure to disappear.
Playing with refraction settings
While it is difficult to be specific about how to set refraction, we have a general recommendation: tweak your refraction settings until you have the right balance of melting or removing blobs or strings after printing. This might be different every time or potentially easier if you find yourself printing the same thing or similar objects repeatedly.
To be fair, you also might not get this right the first time. If so, just use our fix suggestions above and try it again.


